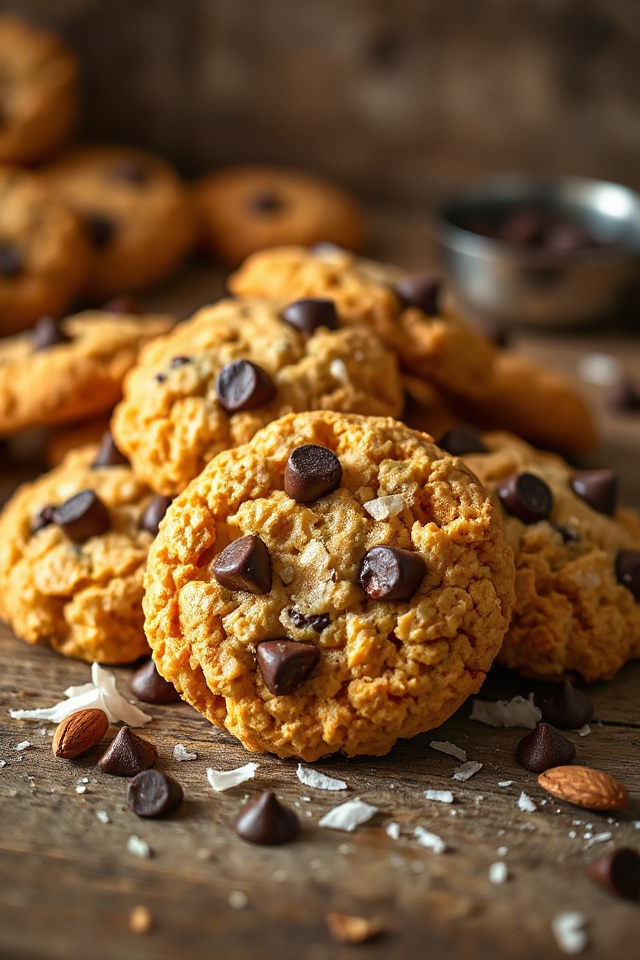
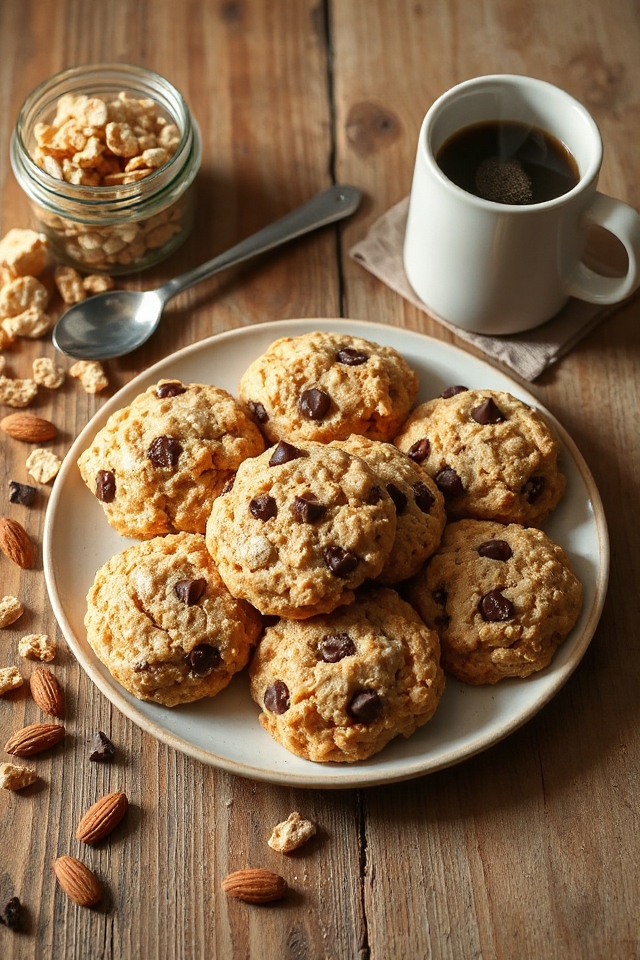
Why You’ll Love This Sugar Free Rice Krispies Cookies Recipe
If you’re looking for a delicious treat that won’t derail your healthy eating goals, you’ll absolutely love this Sugar Free Rice Krispies Cookies recipe.
These cookies aren’t only guilt-free but also satisfy my sweet tooth without the sugar crash. I enjoy how easy they’re to make, and they come together in no time.
The crispy texture combined with that delightful crunch makes each bite a joy. Plus, I love that I can share them with friends and family, knowing they can indulge without worry.
Trust me, you’ll find these cookies quickly become a favorite in your snack rotation!
Ingredients of Sugar Free Rice Krispies Cookies
When it comes to whipping up a batch of Sugar Free Rice Krispies Cookies, gathering the right ingredients is key. You want to make sure you have everything you need before diving into the fun part—mixing and baking.
This recipe is straightforward and doesn’t call for any fancy or hard-to-find components. Just good, simple ingredients that work together to create something delicious. So, let’s round up what you’ll need for this delightful treat.
Ingredients:
- 3 cups Rice Krispies cereal
- 1 cup almond flour (or any nut flour of your choice)
- 1/2 cup unsweetened peanut butter (or any nut butter you prefer)
- 1/2 cup sugar-free sweetener (like Stevia or Erythritol)
- 1 teaspoon vanilla extract
- 1/4 cup coconut oil or butter, melted
- A pinch of salt
- Optional: 1/2 cup sugar-free chocolate chips or nuts for added crunch
Now, let’s chat a bit about these ingredients. If you’re like me, you might’ve a pantry full of nut butters. Seriously, how many can one person own?
But trust me, the peanut butter (or any nut butter) really gives these cookies a lovely flavor and chewy texture. And if you’re avoiding nuts or just want something different, sunflower seed butter works too.
As for the sweetener, there are so many options out there. I’ve tried a few, and it’s all about finding what suits your taste buds. Some sweeteners can be more potent than others, so just keep that in mind when you’re measuring.
Finally, don’t skip the vanilla extract; it brings everything together and makes your kitchen smell amazing while you bake. Happy baking!
How to Make Sugar Free Rice Krispies Cookies

Alright, let’s get into the fun part—making those delicious Sugar Free Rice Krispies Cookies. It’s pretty simple, I promise. First off, grab a large mixing bowl because we’re going to mix our dry ingredients. Take those 3 cups of Rice Krispies cereal and pour them in. Then, add in 1 cup of almond flour. This nutty goodness is going to give our cookies that perfect texture.
And if you’re feeling particularly adventurous, you can always swap the almond flour for your favorite nut flour. Just make sure it’s compatible with your taste buds. Now, let’s sprinkle in a pinch of salt to enhance all those flavors.
Next, we’re diving into the sticky fun. In another bowl, mix together 1/2 cup of unsweetened peanut butter (or whatever nut butter you’ve got lying around—no judgment here) with 1/4 cup of melted coconut oil or butter. If you’re like me, you might’ve melted more butter than you actually need. It happens, right?
Add in 1/2 cup of your chosen sugar-free sweetener, like Stevia or Erythritol, along with 1 teaspoon of vanilla extract. This is where the magic happens; the sweetener and vanilla will make your kitchen smell heavenly. Now, stir everything together until it’s smooth and creamy. It might look a little weird at first, but trust me, it’ll all come together in the end.
Once you have your wet and dry mixes, it’s time to combine them. Pour the wet mixture into the bowl with the dry ingredients and give it a good stir. You’re looking for that perfect consistency—a little sticky but still manageable.
If you’re feeling fancy, now’s the time to fold in some sugar-free chocolate chips or nuts for that extra crunch. After everything is well mixed, use your hands to form small balls of dough and place them on a lined baking sheet. Flatten them a bit, because we want cookies, not dough balls.
Bake in your preheated oven at 350°F for about 10-12 minutes. When they’re golden brown (and your kitchen smells amazing), take them out and let them cool.
And there you have it—cookies that aren’t just sugar-free but also bursting with flavor. Enjoy them with your favorite beverage, and try not to eat them all in one sitting. Who am I kidding? Good luck with that.
Sugar Free Rice Krispies Cookies Substitutions & Variations
Have you ever wondered how to put your own twist on Sugar Free Rice Krispies Cookies? You can easily swap out ingredients to create unique flavors.
For a nutty flavor, try adding almond or peanut butter instead of margarine. If you’re craving chocolate, toss in some sugar-free chocolate chips.
Want a fruity touch? Dried cranberries or raisins can add sweetness without sugar. For a crunch, consider adding chopped nuts or seeds.
You can also experiment with different extracts like vanilla or almond to enhance the taste. Each variation makes the cookies your own delicious creation! Enjoy the process!
What to Serve with Sugar Free Rice Krispies Cookies
Pairing Sugar Free Rice Krispies Cookies with the right accompaniments can elevate your snacking experience.
I love serving them alongside a warm cup of herbal tea or a glass of almond milk. The lightness of the tea complements the cookies’ crunch perfectly.
If you’re in the mood for something more indulgent, try a scoop of sugar-free vanilla ice cream. Fresh fruit, like berries or sliced bananas, adds a revitalizing contrast.
You might even drizzle a bit of sugar-free chocolate sauce on top for an extra treat. These pairings make every bite even more enjoyable!
Additional Tips & Notes
Enjoying Sugar Free Rice Krispies Cookies is all about the little details that can enhance the experience. First, I recommend chilling the dough for at least 30 minutes; it helps the cookies hold their shape better.
If you like a little crunch, consider adding chopped nuts or sugar-free chocolate chips to the mix. I also find that using a silicone baking mat prevents sticking and promotes even baking.
Finally, don’t forget to store them in an airtight container to maintain freshness. These simple tips can elevate your cookies from good to great, making every bite even more enjoyable!
