Why You’ll Love This Sugar Free Lemon Meringue Pie Recipe
If you’re looking for a delicious dessert that won’t derail your healthy eating habits, you’ll absolutely love this sugar-free lemon meringue pie recipe.
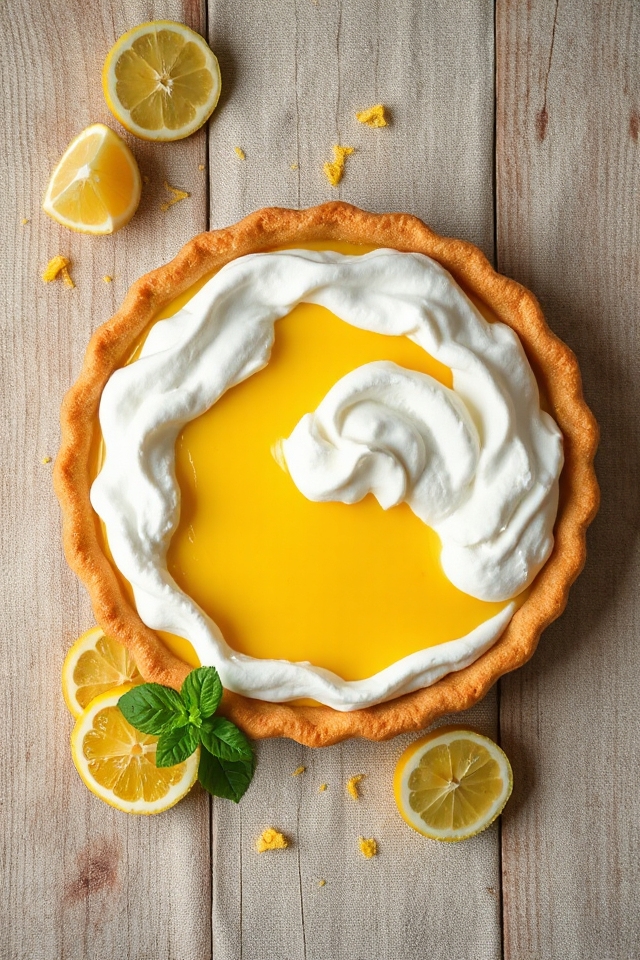
It’s a perfect balance of tangy lemon flavor and fluffy meringue, satisfying my sweet tooth without the guilt. The best part? It’s easy to make and perfect for any occasion.
I can enjoy a slice without worrying about excess sugar or calories. Plus, it impresses friends and family, making it a showstopper at gatherings.
Trust me, once you try it, you’ll be hooked and wondering how something so tasty can be so healthy!
Ingredients of Sugar Free Lemon Meringue Pie
When it comes to making a sugar-free lemon meringue pie, the right ingredients are key to achieving that perfect balance of tartness and sweetness. Trust me, you don’t want to skimp on quality here, but thankfully, you won’t be hunting down some obscure food item at a specialty store.
Most of these ingredients are straightforward and likely already in your pantry. So grab your apron and let’s gather what we need to whip up this delightful dessert.
Ingredients:
- 1 pre-made sugar-free pie crust (store-bought or homemade)
- 1 cup fresh lemon juice (about 4-6 lemons)
- Zest of 2 lemons
- 1 cup water
- 1/2 cup granulated erythritol (or any other sugar substitute)
- 3 large egg yolks
- 2 tablespoons cornstarch
- 1 tablespoon butter
- Pinch of salt
- 3 large egg whites
- 1/4 teaspoon cream of tartar
Now, let’s talk about these ingredients a bit more. Fresh lemon juice is a must for that tangy flavor we all love, so don’t even think about using bottled stuff. It just doesn’t compare.
And while erythritol is my go-to for keeping things sugar-free, feel free to use your favorite sugar substitute—just make sure to check the conversion ratios since they can vary.
Oh, and if you’re feeling adventurous, adding a touch of lemon zest not only amps up the flavor but also adds a lovely aroma.
As for the egg whites, beating them to stiff peaks can be a bit of a workout, but it’s worth it for that fluffiness. Just remember to keep the bowl squeaky clean—any grease can mess with your meringue magic.
Happy baking!
How to Make Sugar Free Lemon Meringue Pie
Alright, let’s plunge into the delightful process of making your sugar-free lemon meringue pie. First things first, you’ll want to preheat your oven to 350°F (that’s about 175°C for my metric friends).
While that’s warming up, grab your pre-made sugar-free pie crust. If you’re using a store-bought one, no judgment here; we all have those days. But if you’re feeling like a kitchen rockstar, go ahead and whip up a homemade crust. Either way, lay it out in a pie dish and set it aside for now.
Now, let’s get to the lemon filling. In a medium saucepan, combine 1 cup of fresh lemon juice (about 4-6 lemons, depending on their juiciness) with the zest of 2 lemons, 1 cup of water, and 1/2 cup of granulated erythritol. Stir that mixture up and bring it to a gentle boil over medium heat.
While that’s bubbling away, grab a separate bowl and whisk together 3 large egg yolks, 2 tablespoons of cornstarch, and a pinch of salt. When the lemon mixture is boiling, slowly pour a bit of it into your egg yolk mix while whisking vigorously—this is called tempering and trust me, it’s essential to avoid scrambled eggs in your pie.
Once combined, pour it all back into the saucepan and cook until it thickens. This should take about 2-3 minutes, and you’ll know it’s ready when it coats the back of a spoon. Don’t forget to stir in 1 tablespoon of butter for that luscious finish.
Now for the best part—the meringue! Grab those 3 large egg whites and toss them into a clean mixing bowl. Add 1/4 teaspoon of cream of tartar to help them whip up to fluffy perfection. Beat those whites until they form stiff peaks.
This is where you can really channel your inner baking diva, but fair warning: it can be a bit of an arm workout. Once you’ve achieved that dreamy fluffiness, gently spread the meringue over the lemon filling, making sure to seal the edges so it doesn’t shrink away during baking.
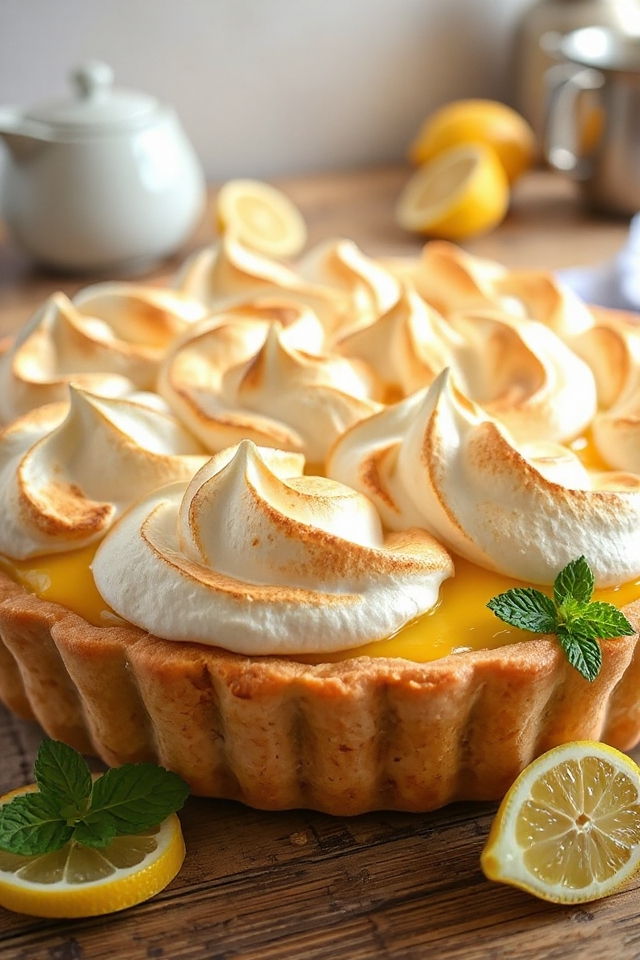
Pop it into your preheated oven and bake for about 10-12 minutes, or until the meringue is lightly golden. Then, let it cool completely before serving. Just try to resist the urge to plunge in right away—trust me, the wait is worth it for that sweet-tart bliss. Happy baking!
Sugar Free Lemon Meringue Pie Substitutions & Variations
After mastering the basics of sugar-free lemon meringue pie, it’s time to explore some substitutions and variations to make this dessert even more tailored to your taste.
For the crust, try using almond flour or a pre-made gluten-free option. If you want a different flavor, mix in some lime juice or even a splash of orange zest.
For sweetening, consider using erythritol or monk fruit for a unique twist. To enhance the meringue, add a touch of vanilla extract.
These small changes can elevate your pie, making it a delightful treat that suits your preferences perfectly!
What to Serve with Sugar Free Lemon Meringue Pie
To enhance your sugar-free lemon meringue pie experience, consider pairing it with a rejuvenating side that complements its bright flavors.
I love serving it with a light, fresh fruit salad, featuring strawberries, blueberries, and kiwi. The natural sweetness and acidity of the fruits balance the tartness of the pie perfectly.
You might also enjoy a scoop of whipped coconut cream, which adds a creamy texture without the sugar.
If you’re in the mood for a drink, an invigorating herbal iced tea or sparkling water with lemon can elevate your dessert experience.
Trust me; these pairings make all the difference!
Additional Tips & Notes
While making your sugar-free lemon meringue pie, keep a few key tips in mind to guarantee the best results. First, use fresh lemons for the brightest flavor.
When preparing the meringue, make sure your mixing bowl is completely clean and free of grease, as this helps the egg whites whip up nicely. I recommend adding a pinch of cream of tartar for stability.
Bake the meringue until it’s golden brown but watch it closely to avoid burning.
Finally, let the pie cool completely before slicing; this helps the filling set properly. Enjoy your delicious, guilt-free dessert!