Why You’ll Love This Sugar Free Apple Pie Recipe
Why will you love this sugar-free apple pie recipe? I promise it’ll satisfy your sweet tooth without the guilt.
The delicious aroma wafting through your kitchen will draw everyone in, making it the perfect dessert for gatherings. Plus, it’s incredibly easy to whip up!
I adore how the natural sweetness of the apples shines through, creating a delightful flavor profile. You won’t even miss the sugar.
Each bite is a warm hug, reminding you of cozy autumn days. Trust me, once you try this pie, you’ll want to make it time and again, sharing it with family and friends.
Ingredients of Sugar Free Apple Pie
When it comes to baking a sugar-free apple pie, the ingredients you choose can make all the difference. You want to bring out the natural sweetness of the apples while keeping things simple and wholesome. Plus, who doesn’t love a recipe that doesn’t require a trip to the grocery store for a million ingredients?
This delicious pie comes together with just a few staples you may already have on hand. Let’s explore what you’ll need.
Ingredients for Sugar Free Apple Pie:
- 6 to 8 medium apples (Granny Smith or Honeycrisp work great)
- 1 tablespoon lemon juice
- 1 teaspoon ground cinnamon
- 1/4 teaspoon nutmeg (optional, but it adds a lovely warmth)
- 1 tablespoon cornstarch (for thickening)
- 2 tablespoons sugar substitute (like stevia or erythritol)
- 1 pre-made pie crust (store-bought or homemade, just make sure it’s sugar-free)
- 2 tablespoons unsalted butter (for a rich flavor, or you can use coconut oil)
Now, let’s chat a bit about these ingredients. First off, the apples are the star of the show. Choosing a mix of sweet and tart apples can elevate the flavor to something magical.
Granny Smith gives that tartness, while Honeycrisp adds sweetness—it’s like a perfect duet in your pie. Also, don’t stress if you don’t have all the spices; cinnamon is usually the must-have, but nutmeg brings it to another level if you’re feeling fancy.
And if you’re really in a pinch, a sugar substitute is a lifesaver, making this pie guilt-free. Just remember to check the packaging on any substitutes you use for the equivalent sweetness, as they vary quite a bit.
How to Make Sugar Free Apple Pie
Alright, let’s get down to the nitty-gritty of making this scrumptious sugar-free apple pie. First things first, preheat your oven to 425°F (that’s about 220°C for my friends across the pond).
While that’s heating up, grab your 6 to 8 medium apples. I usually go for a mix of Granny Smith and Honeycrisp because, let’s be real, who doesn’t want to bite into a pie that has both that zingy tartness and sweet juiciness? Peel, core, and slice those apples into thin wedges. You want them to cook evenly, and nobody likes a chunky, undercooked apple in their pie.
Once you’ve got your apples all sliced up, toss them in a large bowl with 1 tablespoon of lemon juice, 1 teaspoon of ground cinnamon, and if you’re feeling fancy, 1/4 teaspoon of nutmeg. The lemon juice keeps those apples from browning and adds a zesty kick.
Then, sprinkle in 1 tablespoon of cornstarch and 2 tablespoons of your chosen sugar substitute—this is where the magic happens. Stir it all together until the apples are coated and looking fabulous.
Now, grab your pre-made, sugar-free pie crust (because we’re all about convenience) and lay it in your pie dish. You can use a store-bought crust or make your own if you’re feeling ambitious. Just be sure it’s sugar-free, or else we’ll have to have a talk.
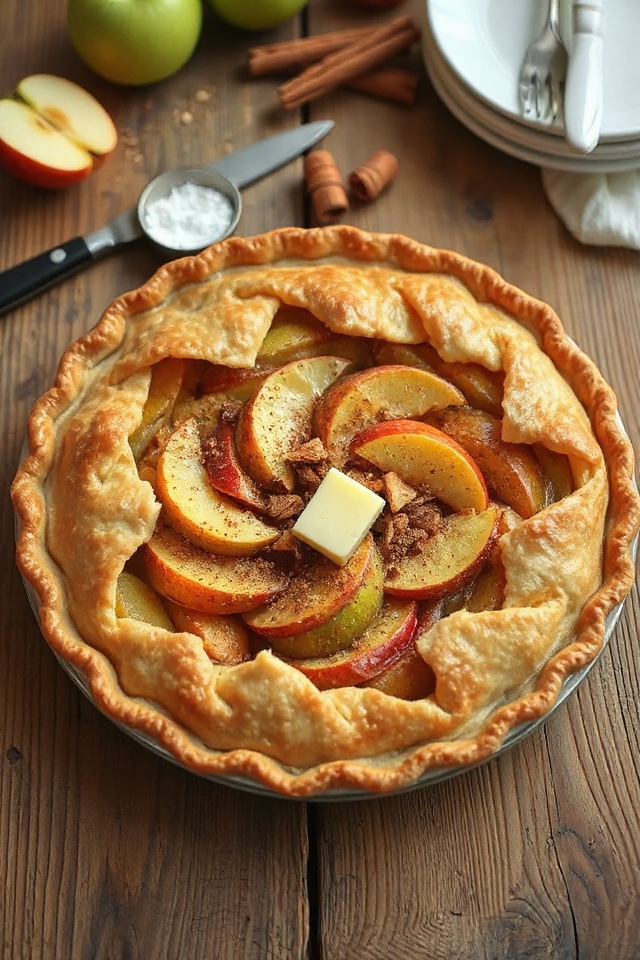
Now for the best part: filling the crust. Pour those beautifully coated apples into the pie crust and spread them out evenly. If you really want to indulge, dot the top with 2 tablespoons of unsalted butter or coconut oil—trust me, it adds a rich flavor that’ll make you swoon.
Then, cover it with a top crust, crimp the edges, and cut some slits for steam to escape. Pop that bad boy in the oven for about 40-45 minutes until the crust is golden brown and the apples are bubbling, making your kitchen smell like a cozy autumn day.
Just remember, if you’re like me and can’t resist a peak, keep an eye on it. You don’t want to be the person who burned their pie while daydreaming about how amazing it’s going to taste.
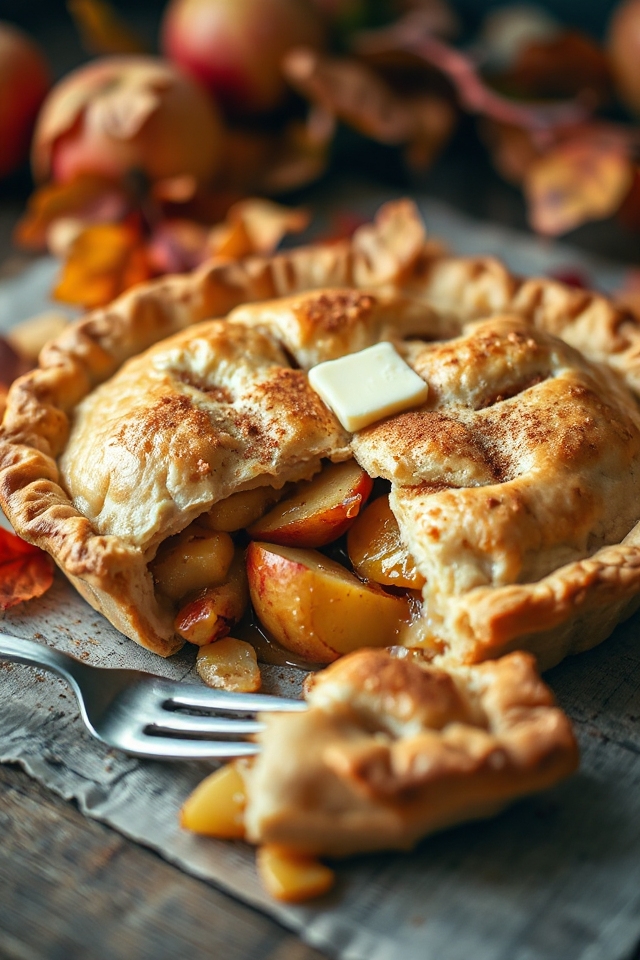
Once it’s done, let it cool for a bit, and then slice yourself a piece of your sugar-free masterpiece. Enjoy, guilt-free!
Sugar Free Apple Pie Substitutions & Variations
If you’re looking to mix things up with your sugar-free apple pie, there are plenty of substitutions and variations to contemplate.
I love experimenting with different sweeteners like Stevia or monk fruit for a unique flavor. You can also switch up the spices; adding nutmeg or cardamom can elevate the taste.
For the crust, consider using almond flour or coconut flour for a gluten-free option. If you want extra texture, throw in some chopped nuts or oats.
Don’t hesitate to swap in other fruits, like pears or berries, for a delightful twist that keeps things interesting!
What to Serve with Sugar Free Apple Pie
Wondering what to serve alongside your sugar-free apple pie to elevate the experience?
I love pairing it with a dollop of whipped coconut cream for a creamy contrast. A scoop of low-carb vanilla ice cream also works wonders, adding a delightful chill.
If you’re feeling adventurous, a sprinkle of cinnamon or nutmeg on top can enhance those apple flavors beautifully.
For a warm touch, serve it with a side of spiced chai tea or a rich coffee.
Each of these options complements the pie, making every bite even more enjoyable. Trust me, your taste buds will thank you!
Additional Tips & Notes
Serving your sugar-free apple pie with delightful accompaniments enhances the overall experience, but there are a few additional tips to confirm it turns out perfectly.
First, use tart apples like Granny Smith for a balanced flavor. Don’t skip the lemon juice; it brightens the taste and prevents browning.
If you want a flaky crust, chill your ingredients before mixing. Bake the pie on a lower rack to guarantee the bottom crust cooks thoroughly.
Finally, let it cool completely before slicing to help it set. Trust me, these little details make a big difference in your pie’s taste and texture!