
Why You’ll Love This Sugar Free Kifli Recipe
Why wouldn’t you love a delicious treat that fits perfectly into a healthier lifestyle? I know I do!
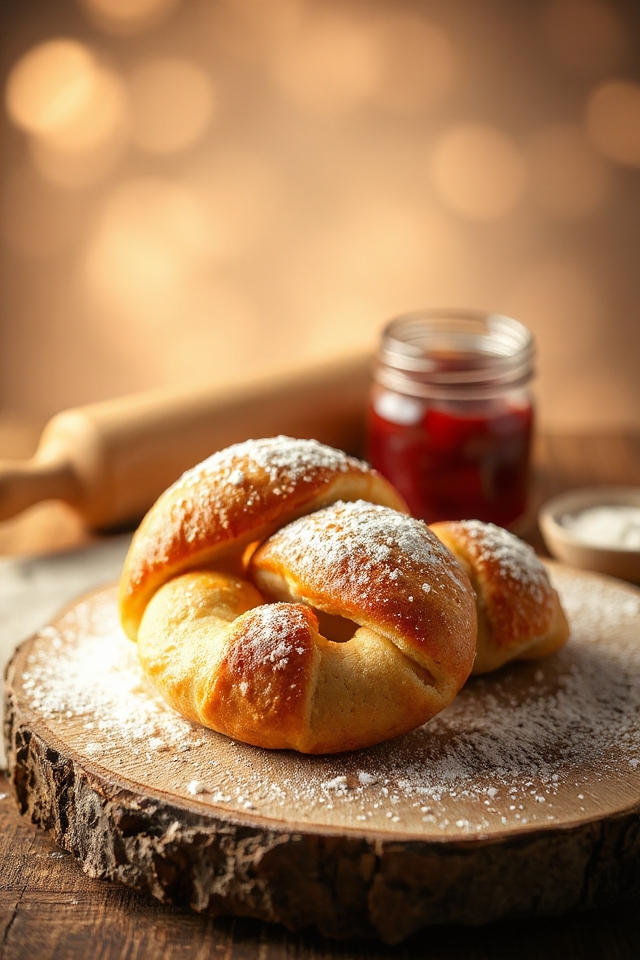
This Sugar Free Kifli recipe satisfies my cravings without the guilt. The texture is soft and flaky, making each bite a delightful experience. I appreciate how easy it’s to whip up, and it’s a great way to impress guests or enjoy a quiet afternoon snack.
Plus, I love that I can indulge without worrying about sugar spikes. It’s the perfect balance of flavor and health, allowing me to enjoy a treat while staying true to my wellness goals.
You’ll love it too!
Ingredients of Sugar Free Kifli
When it comes to making a delightful treat like Sugar Free Kifli, the ingredients are key. You want to gather items that not only come together beautifully but also create a delicious flavor without the sugar. Plus, they should be easy to find at your local grocery store. So, let’s explore what you’ll need for this recipe!
Ingredients for Sugar Free Kifli:
- 2 cups all-purpose flour
- 1 cup unsalted butter, softened
- 1 cup cream cheese, softened
- 1/4 cup sugar substitute (like stevia or erythritol)
- 1/2 teaspoon salt
- 1 teaspoon vanilla extract
- 1 egg yolk (for brushing)
- Optional: Fruit preserves or nuts for filling
Now, before you start tossing things together, let’s chat about a few considerations regarding these ingredients.
First off, if you’re looking to keep things extra healthy, you can substitute the all-purpose flour with whole wheat flour or even a gluten-free blend if that’s your jam. Just keep in mind that the texture might change a bit—more rustic, maybe?
And about that sugar substitute, there are so many options out there. Some are sweeter than others, so it’s a good idea to taste as you go. Trust me, nobody wants a Kifli that’s too sweet or, heaven forbid, has a weird aftertaste.
Oh, and if you decide to add those fruit preserves or nuts for a filling, it’s not just a great way to add flavor, but it might just make your Kifli the star of the afternoon tea.
How to Make Sugar Free Kifli
Making Sugar Free Kifli is a delightful journey that involves a bit of mixing, rolling, and folding—kind of like a culinary dance party in your kitchen, minus the disco ball. So, let’s plunge into this delicious process.
First things first, grab your 2 cups of all-purpose flour and sift it into a large mixing bowl. Sifting is like giving your flour a little spa day; it makes it fluffier and helps avoid any lumps that could ruin your Kifli’s texture.
Next, add in 1 cup of softened unsalted butter and 1 cup of softened cream cheese. Yes, this is where the magic begins. You want to mix these together until it’s all smooth and creamy, creating a base that’s rich and oh-so-tasty. Try using either a hand mixer or a stand mixer—your choice, but beware, hand mixing might give you a mini workout.
Now, it’s time to sweeten the deal—figuratively, of course—by adding 1/4 cup of your preferred sugar substitute. Whether you’re team stevia or team erythritol, just make sure to blend it in thoroughly.
Then, sprinkle in 1/2 teaspoon of salt and pour in 1 teaspoon of vanilla extract for that lovely aroma. At this point, your kitchen should start smelling delightful, and you might be tempted to taste the mixture. Go ahead, but just a little; we don’t want to spoil your appetite for the final product, right?
Once everything is combined, it’s time to work in the flour until the dough forms. It might be a tad sticky at first, but don’t stress, that’s normal. Just sprinkle a little flour on your countertop and knead it gently until it’s smooth.
After you’ve got that dough ready, wrap it in plastic wrap and pop it in the fridge for about an hour. This step is essential; it helps the dough firm up and makes it easier to roll out later.
While you’re waiting, you could tidy up the kitchen or maybe take a moment to reflect on how much you love Kifli (or how you’re still not a morning person, but that’s a story for another time).
Once the hour is up, roll out your dough on a floured surface to about 1/8 inch thick. Then, cut it into triangles, and if you’re feeling adventurous, add some fruit preserves or nuts in the center before rolling them up into crescent shapes.
Place them on a baking sheet lined with parchment paper, brush them with that lone egg yolk for a glossy finish, and bake at 350°F for about 20-25 minutes. Watch them closely, because you want them golden brown, not burnt—trust me, I’ve been there.
Once baked, let them cool a bit, and then enjoy your sugar-free treat, feeling both proud and slightly indulgent.
Sugar Free Kifli Substitutions & Variations
After you’ve mastered the basic Sugar Free Kifli, you might want to explore some substitutions and variations to make this treat your own.
For a nutty twist, try adding almond flour instead of all-purpose flour. If you’re a fan of chocolate, mix in some sugar-free cocoa powder for a rich flavor.
You can also replace the filling with sugar-free fruit preserves or even a nut butter for a unique take. Experiment with different spices like cinnamon or nutmeg to elevate the taste.
No matter what you choose, these adjustments can bring new life to your Sugar Free Kifli!
What to Serve with Sugar Free Kifli
Pairing Sugar Free Kifli with the right accompaniments can enhance your enjoyment of this delightful pastry.
I love serving them with a dollop of Greek yogurt for a creamy texture that complements the fluffiness. You might also consider a side of fresh berries; their natural sweetness contrasts beautifully with the kifli’s subtle flavor.
A cup of herbal tea or coffee adds warmth, making it a perfect snack or breakfast option. If you’re feeling adventurous, drizzle a bit of sugar-free chocolate sauce on top for an indulgent touch.
These pairings elevate the experience, making it truly satisfying!
Additional Tips & Notes
While preparing Sugar Free Kifli, I’ve found a few tips that can really enhance the outcome.
First, make certain your butter is softened; it makes mixing easier and yields a flakier texture.
I also recommend chilling the dough for about 30 minutes before rolling it out. This helps in maintaining shape.
When filling, don’t overstuff—too much filling can lead to bursting during baking.
Finally, keep an eye on the baking time; every oven varies, and you want that golden brown finish.
Enjoy experimenting with different fillings; I’ve had great success with sugar-free jams and nuts!
Happy baking!